Xbox CEO Seeks to Speed Up Progress on Future Halo and Fallout Titles, While Considering Business Spin-Off Opportunities
**Xbox’s Critical Demand for Successful Games: A New Strategic Approach Under Asha Sharma**
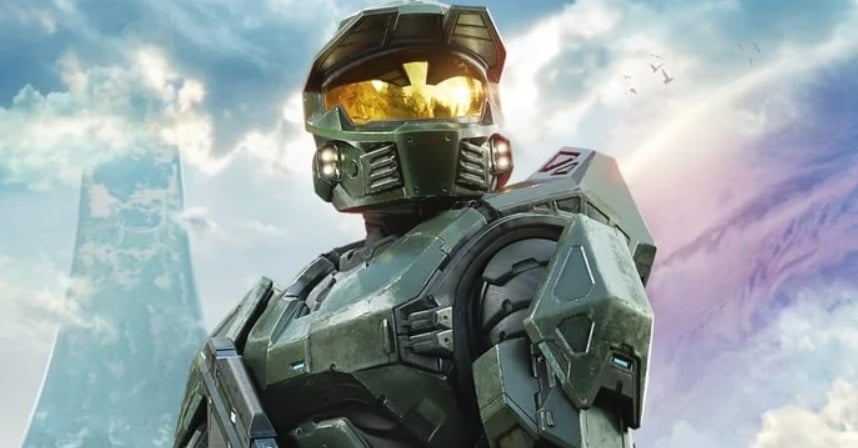
As Xbox embarks on a new chapter with CEO Asha Sharma at the helm, a definitive directive has surfaced: the gaming division needs to produce successful games at a significantly accelerated rate. Insights from *The Information* indicate that Sharma’s ambition is to reinvigorate the Xbox lineup by redistributing resources from underachieving studios and projects to concentrate more closely on significant franchises such as *Halo*, *Fallout*, and *The Elder Scrolls*. This strategic shift arises from Microsoft’s acknowledgment that to effectively compete in the gaming arena, it must leverage its most cherished and profitable titles.
### Resource Redistribution and Financial Limitations
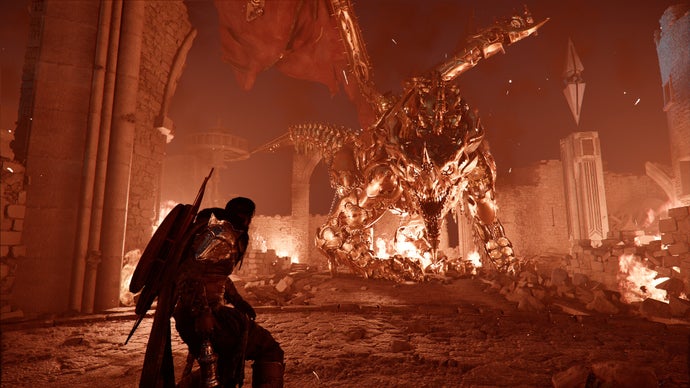
The report suggests a stable development budget for the fiscal year 2027, indicating a reallocation of resources rather than an increase in financial backing. By scaling back on less successful pathways, Xbox aims to accelerate development timelines for its flagship franchises. For instance, it has been five years since *Halo Infinite* launched, and the pending *Halo: Campaign Evolved* is merely a remastered version, highlighting an urgent necessity for original content.
Additionally, *The Elder Scrolls VI* is reportedly still many years away, with *Fallout 5* anticipated to launch even later. Sharma’s initiative also aims to enhance *Minecraft*, which is falling behind rivals like *Roblox* concerning engagement and monetization.
### Corporate Structure and Future Perspectives
There are signs that Microsoft executives, including CEO Satya Nadella, have shown cautious endorsement for Sharma’s plans for resource reallocation, set to begin in July. However, the potential for an overall restructuring is on the horizon. This could involve converting Xbox into an independent subsidiary similar to LinkedIn or GitHub, forming a joint venture, or even divesting the division entirely. Future actions will largely hinge on the outcomes of Sharma’s strategic execution.
Experts agree that the success of these changes will be crucial in shaping Xbox’s long-term trajectory. If fruitful, it could strengthen Xbox’s standing in the gaming sector, but setbacks or limited advancement may prompt Microsoft to reevaluate its commitment to gaming altogether.
### Workforce Consequences
The restructuring is predicted to lead to considerable layoffs within Xbox, impacting numerous studios acquired during Phil Spencer’s leadership. While this mixed strategy intended to broaden Xbox’s Netflix-style subscription service was ambitious, it seems that Microsoft is now reverting to a focus on its conventional revenue-generating franchises.
Franchises such as *Halo*, *Forza Horizon*, and *Fallout* have demonstrated consistent success. The recent triumph of the *The Elder Scrolls IV* remake, which surpassed several newer titles, emphasizes the importance of established franchises in sustaining financial robustness.
### Upcoming Challenges
Despite these strategic transitions, substantial challenges persist. Accelerating game development in an environment where production costs are soaring poses a complex dilemma. Historically, Microsoft has encountered difficulties in delivering games timely with the quality required to engage audiences and earn accolades during major award cycles.
In a recent appearance on *Hard Fork*, Nadella stressed Sharma’s mandate to reevaluate priorities and regain fan confidence, asserting, “We must make this a sustainable business.” It’s evident that the pivot towards a more focused commitment to iconic franchises is a crucial move in redefining Xbox’s identity and securing its future in a competitive landscape.
As Xbox advances, the pressures of elevated expectations and the imperative to innovate remain critical, leaving fans both hopeful and anxious for the next generation of gaming adventures.